Photograph by Linda S. - 國家地理雜誌官方網站|探索自然、科學與文化的最佳權 https://www.natgeomedia.com/history/photo/content-photo-15091-27728.html?utm_source=natgeomedia&utm_medium=photo&utm_content=Share_15091_27728
1
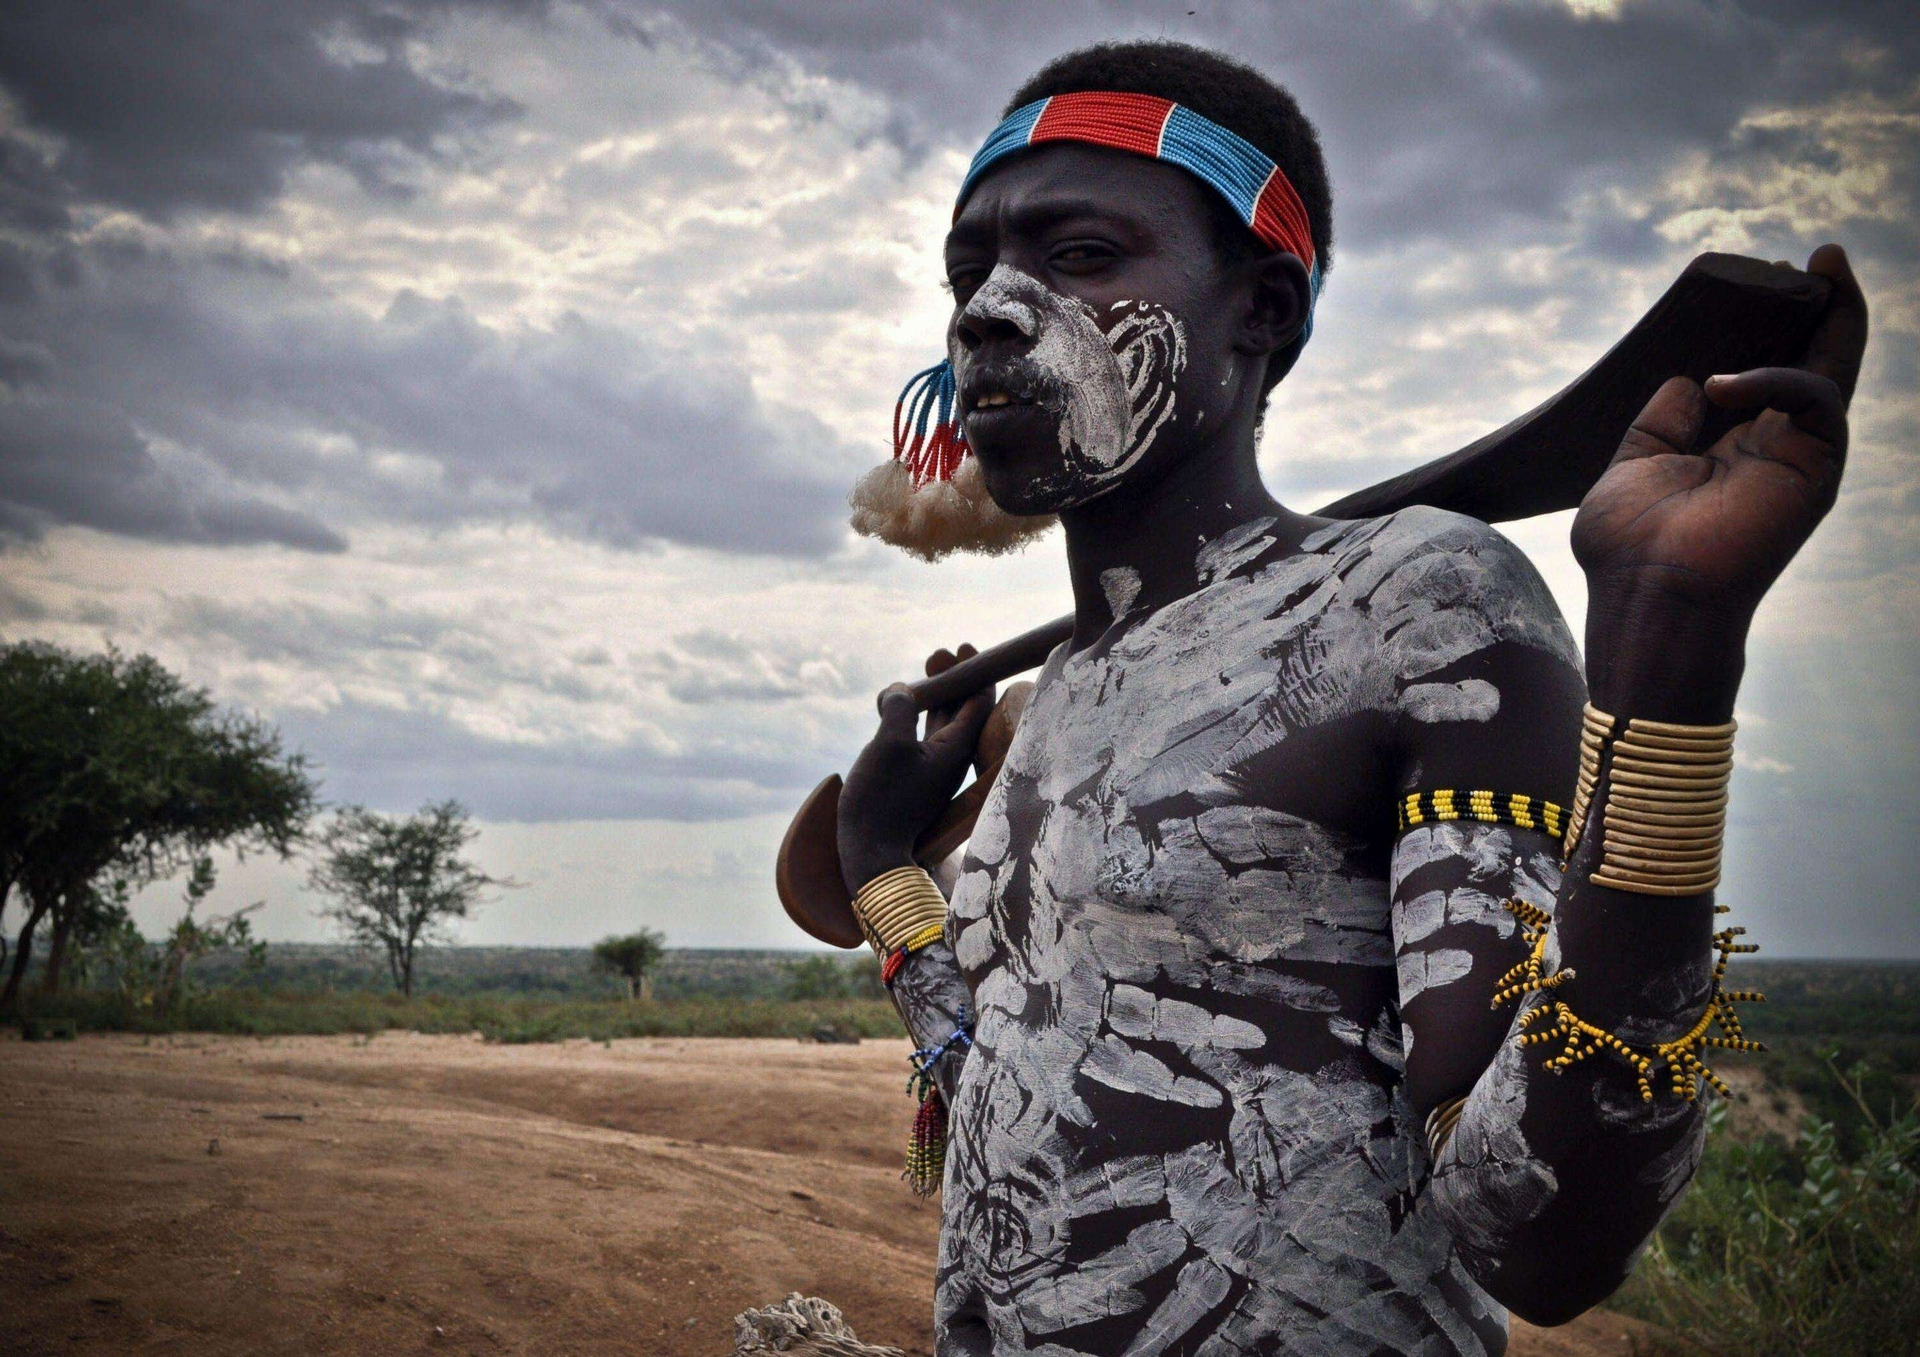
Photograph by Linda S.
Share
AD